A dimmer is a win-win-win situation: it enables a range of light to play with, helps the environment by conserving electricity, and lowers your electric bill.
To begin, make sure your light bulbs can be dimmed, which should be stated in the packaging. If you have incandescent or halogen bulbs, you’re good to go. However, most modern, low-wattage bulbs — such as compact fluorescents or LEDs — cannot be dimmed. A few compact fluorescent bulbs are dimmable but generally have a very limited light gradient and tend to hum. Recent LED light bulbs are more likely to be dimmable, but they require a specific kind of dimmer due to their lower wattage, said Nathaniel Garber, owner of Garber Hardware, a family-run hardware store standing since 1884.
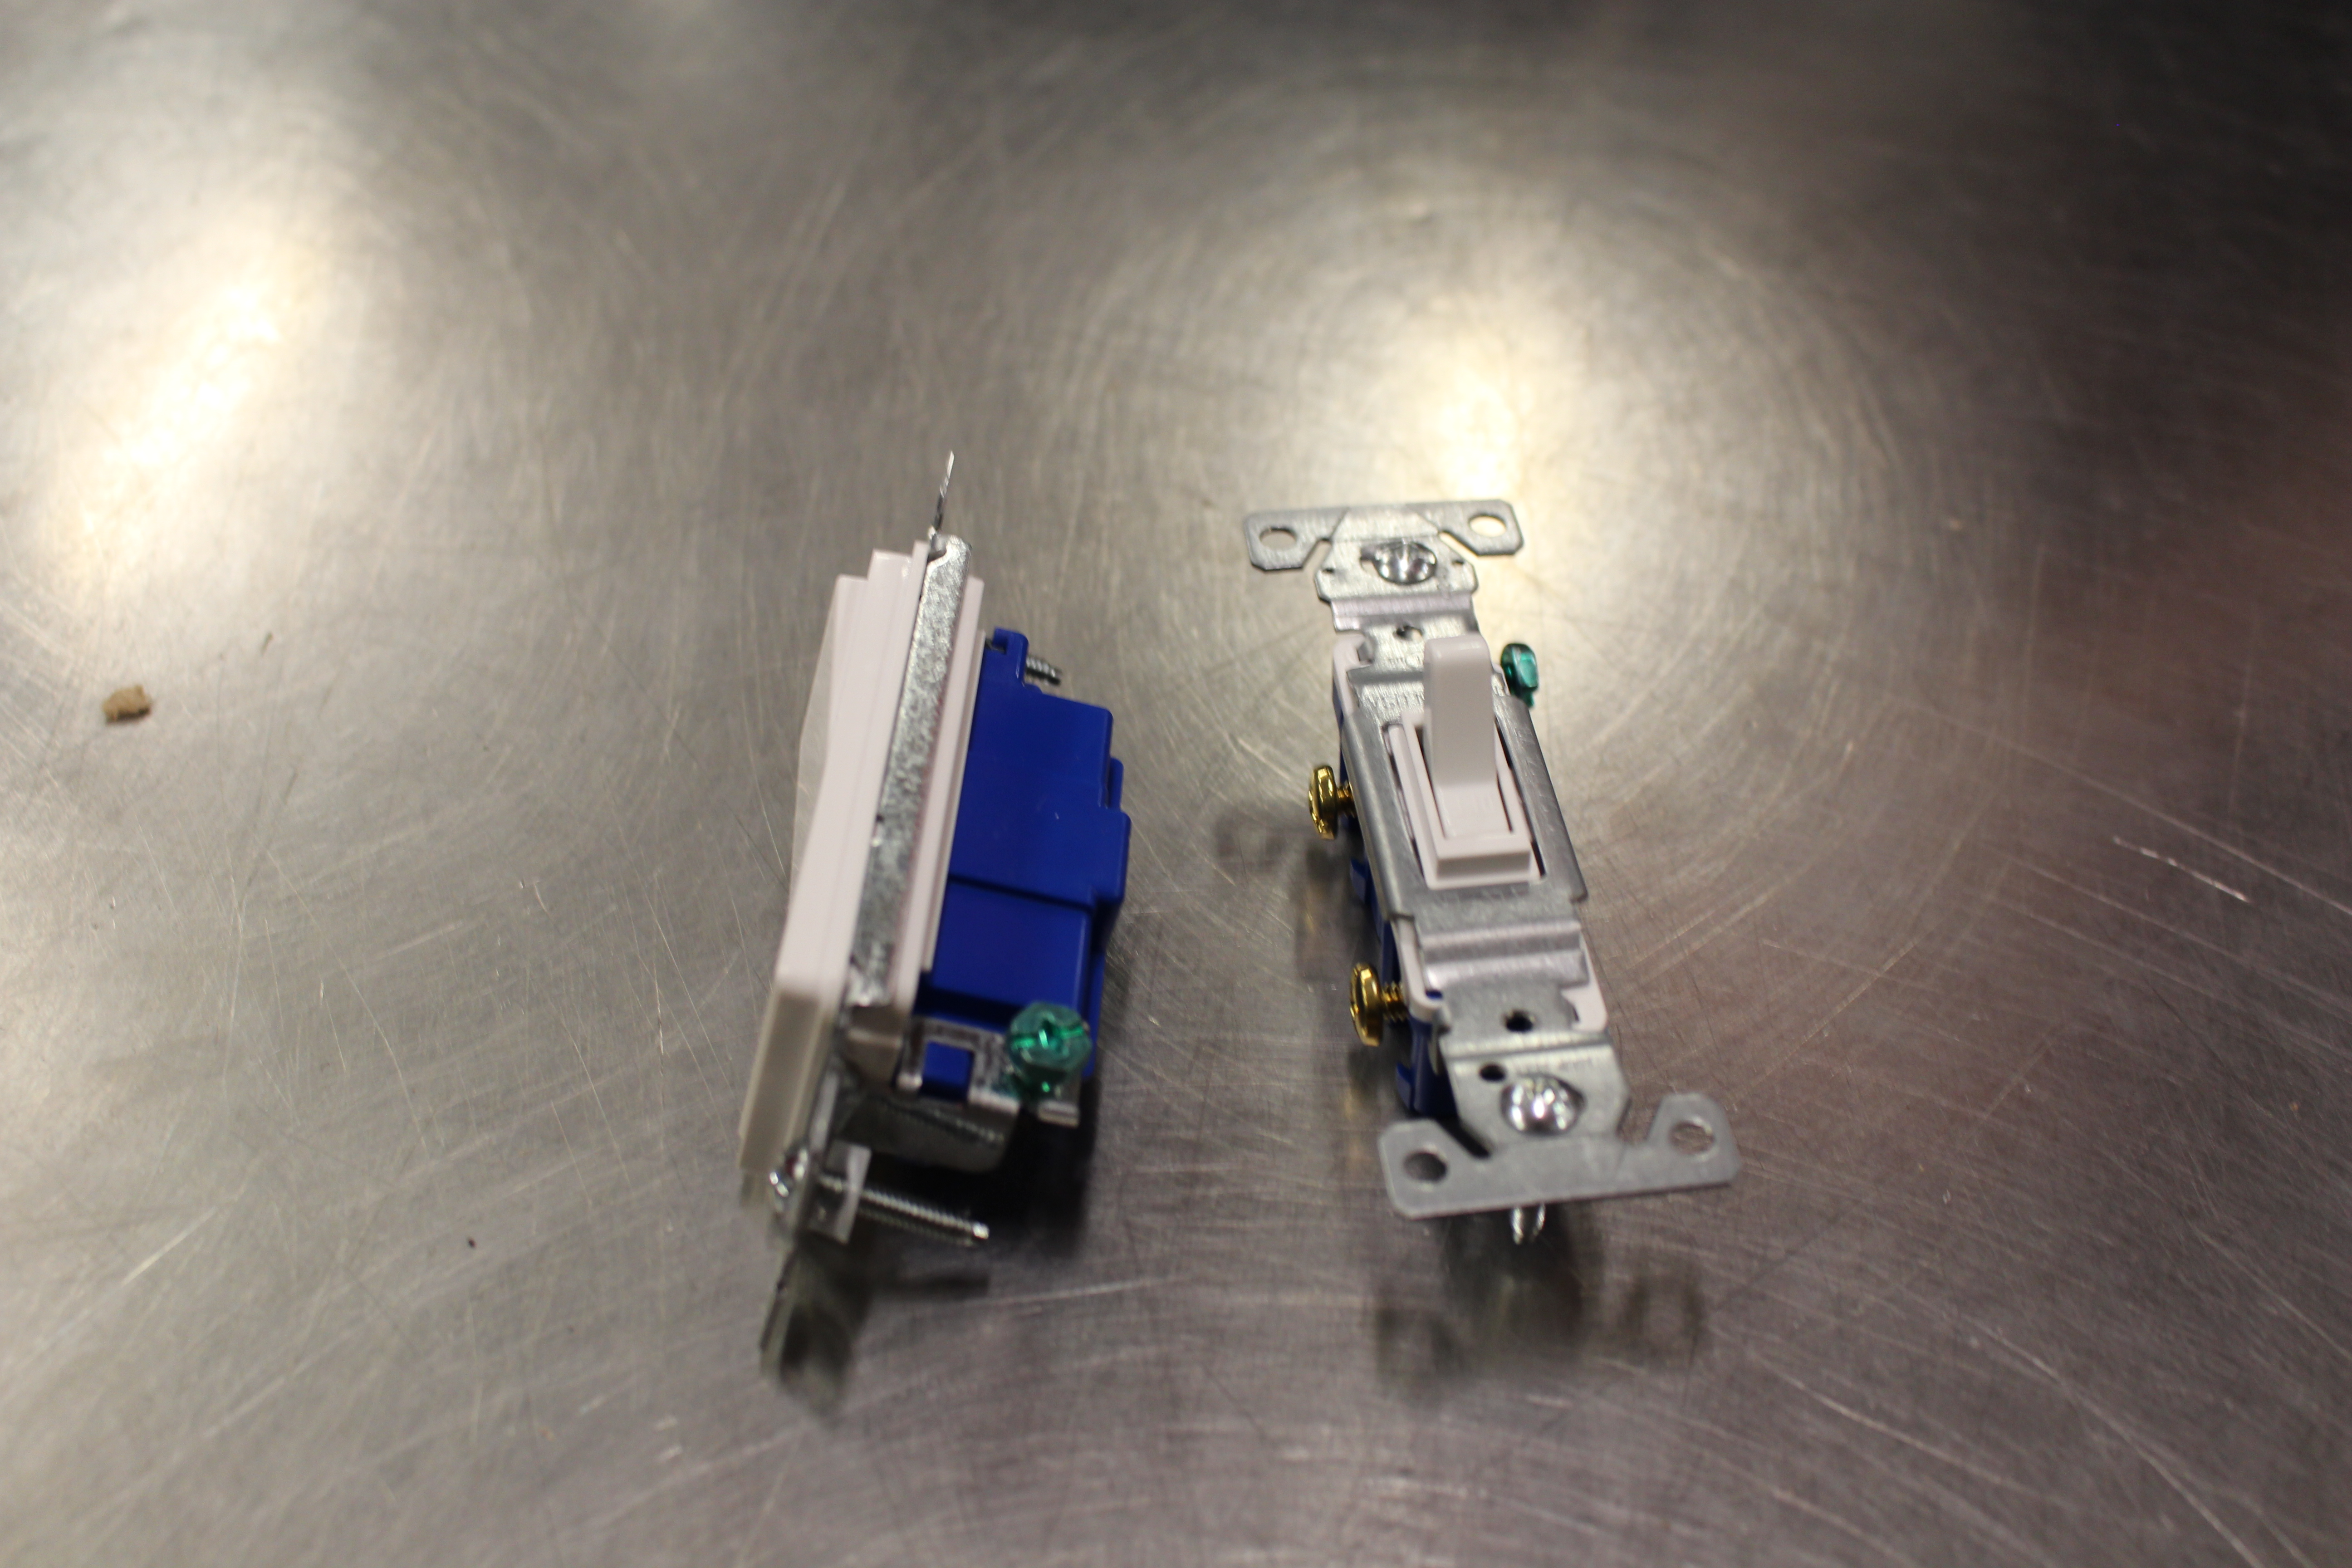
Once you’ve decided whether your lighting is appropriate for a dimmer, you'll need to buy one that fits your switch. Most light switches in the city are standard single-pole switches, meaning that only one switch controls one light.
 DNAinfo/Rebecca Ngu
Some switches, however, are two-pole or three-way switches, meaning two switches control one light fixture (e.g. a switch at the top and bottom of a staircase). Make sure you buy the type of dimmer you need. Since single-pole switches are the vast majority, we will be focusing on them in this guide, but If you have a two-pole or three-way switch, check out full instructions here.
Dimmer at hand, go to the breaker box in your house — the metal box in your house that controls the electrical flow. Shutting off the correct circuit breaker is a precaution you should always take before starting a home electrical project.
Turn off the circuit breaker that controls your light fixture. Garber recommended turning each breaker on and off to figure out which breaker controls which appliances, even if the breakers are labeled, for the utmost accuracy.
 YouTube/The Home Depot
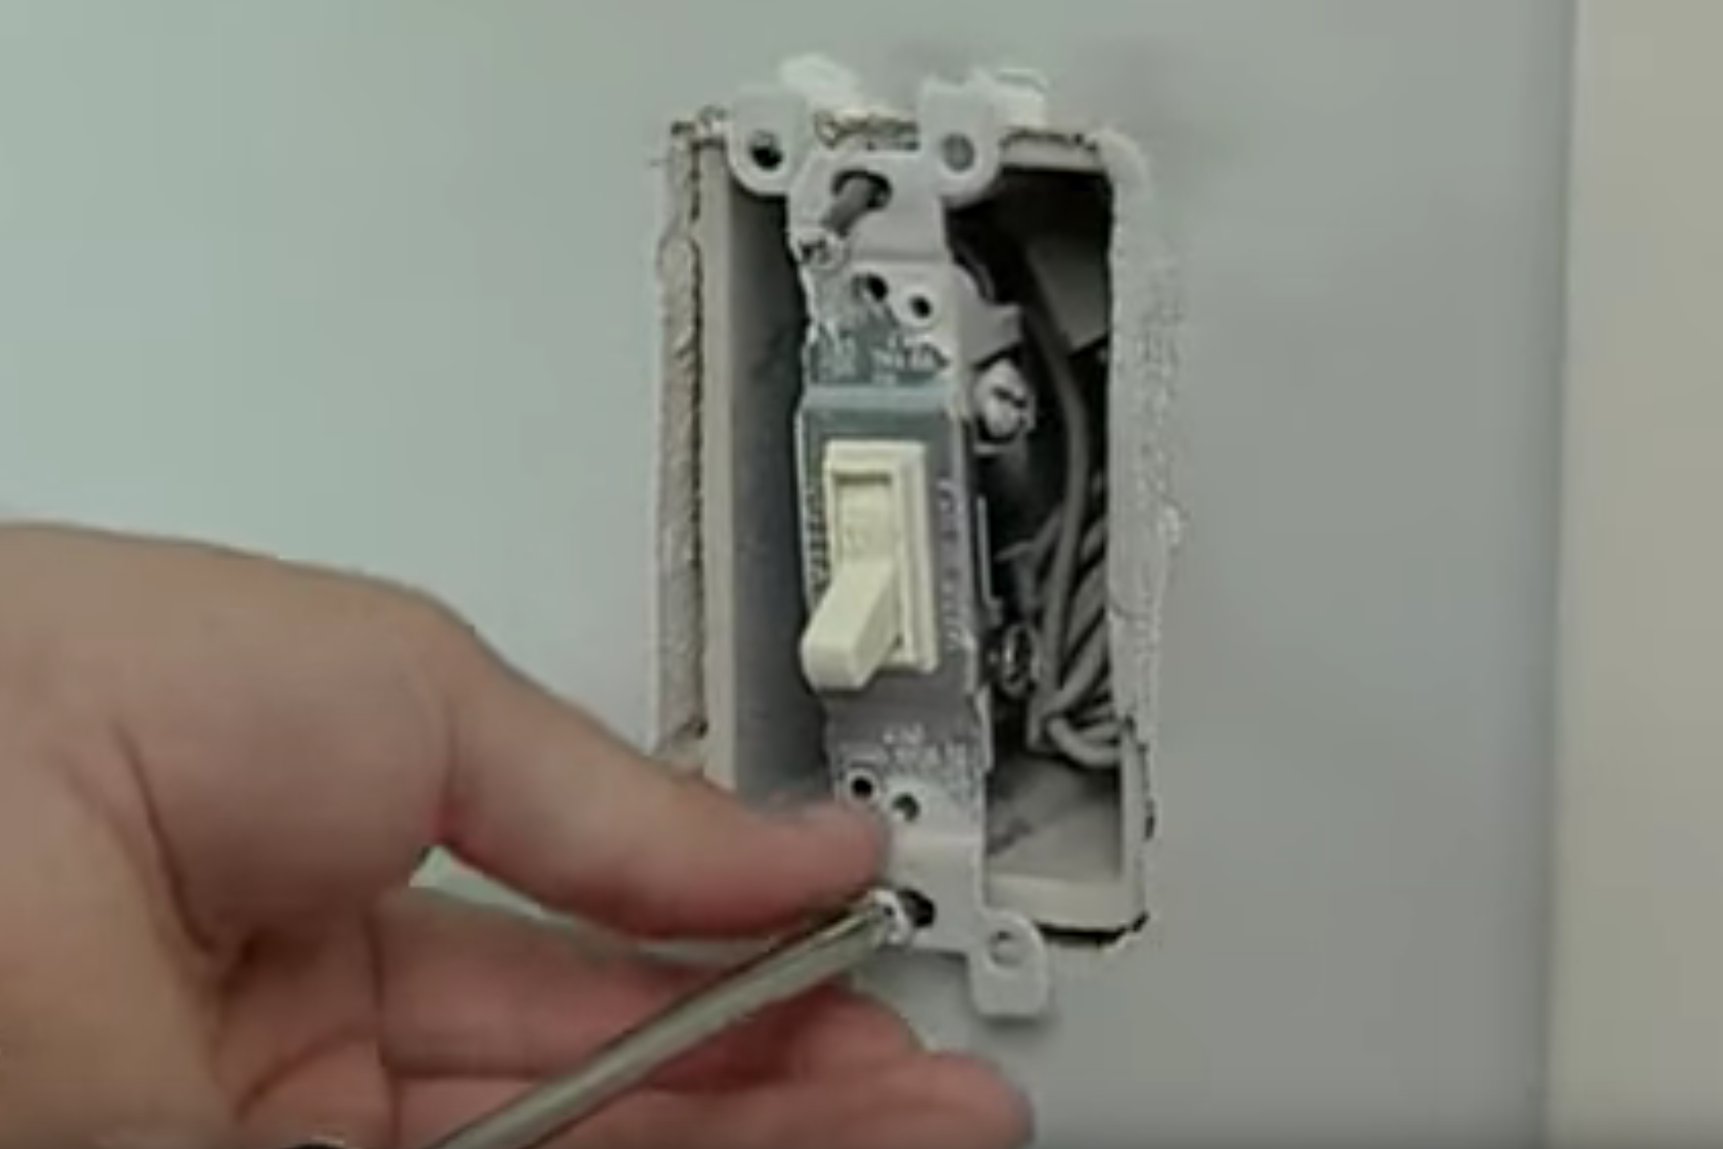
To begin, unscrew the external wall plate.
 YouTube/The Home Depot
To figure out if you’ve fully shut down the electricity on your line, you may want test the wires with a voltage tester, which you can find instructions for here.
 YouTube/The Home Depot
After all is safe, unscrew the light switch from the electrical box.
 YouTube/The Home Depot
Gently remove the two house wires attached to the switch. They’re likely solid copper wires, Garber said.
 YouTube/The Home Depot
If the ends of the house wires are bent or frayed, cut them off with a wire stripper. If the ends are not exposed, use the wire stripper to remove about 3/4 inch of the insulated casing.
 YouTube/The Home Depot
The light dimmer should have three wires attached to it, usually two black or white ones and one green wire. Braid the exposed ends of the black or white wires to the house wires that you just detached from the switch. If you can, match the wires by color, but if not, you can generally pair the wires however you want — order shouldn't matter. Verify with your instructions though, as some dimmers have specific requirements.
 YouTube/The Home Depot
Screw on the supplied plastic wire nuts over the braided wires for insulation. Garber recommended wrapping the wire nuts with electrical tape to secure the nuts more tightly.
Then attach the green wire — called the ground wire — to either the ground screw or ground wire in the electrical box and screw on a wire nut as well.
 YouTube/The Home Depot
Screw the light dimmer switch back onto the electrical box, gently pushing back the nest of wires, trying not to undo the fastenings you've made. Now go through the beginning steps in reverse, screwing the dimmer back and reattaching the external wall plate. Turn on the circuit breaker, restoring the power, and move your dimmer up and down. Now enjoy that soft romantic lighting.
MORE DIY GUIDES:
► Fixing Low Water Pressure in Your Faucet
► Hanging Heavy Objects on Walls
► Fixing a Running Toilet
► How to Unclog All Sorts of Drains